
You are currently browsing the category archive for the ‘demos’ category.
I just love me a good quilting tool! Especially one that promises to help me sew a straight line;) and this is where Lori Holt of Bee In My Bonnet’s ‘Seams Sew Easy’ seam guide saves my day.

Now I have a 1/4″ foot to do most of my work for me on the straight lines and good seam allowance bit but I definetly can use something that tells me I don’t have to mark a diagonal line with a pencil on the back of a gazillion blocks!
If you follow Lori’s directions for adhering the guide, you can ditch the time spent tediously marking your blocks. Toss the pencil and get started sewing!
Set your needle down in one corner and line up the opposite corner with the straight line.

Keep the point on the line while stitching and you’ll have perfect blocks. It took a little practice to keep my eye on the line instead of staring at my presser foot.
Forgot your 1/4″ foot? The guide will serve as one. Jus keep the edge of your block lined up with line on the guide. Yes! It’s just that easy.

I do have the slight delima of having a bottom bobbin case. Ugh. But my guide had four adhering stickers on it and when my bobbin needed replacing, I only lifted half of my guide up and it didn’t shift on me.
There are super cute ideas on her blog so go check it out if you’ve never been.
Another fab idea she had was to make mini design boards to take to class with you. And of course they’re adorable! When I demo at the guild, I use a flattened cardboard box covered with a scrap piece of batting that’s pinned to the back of the box. Oh the horror! How could I have been so ‘uncute’ during a demo!?!
Well, after seeing hers, I upgraded my cuteness level and made a new one. All you need is foam board, which can be purchased at any hobby store or Walmart, batting, binding and hot glue. Her directions can be found here.

Beware. They’re addicting. I think I made 6 in one day-4 for friends, one for myself, and one to give out along with a Seam Guide as our guild door prize for November!

Demo: Spinning Star HST Paper
Warning: Addictive
I came across Spinning Star HST papers in a cute quilt shop while on vaca in Oklahoma called Threads of Tradition. They had made a chevron baby quilt using them them and I thought, what the heck, I’ll try that. The added bonus was the papers were designed by a local quilter in Edmond, OK and I do like to support my local small business!
I contacted Liz of Spinning Star Designs and she generously donated papers for a demo and a door prize for the guild.
Triangle paper was always something I knew of but never tried. I always thought, “Why would I need that? I can make half square triangles…for free lol!”
But, oh how wrong I was. The paper made me squeal…and in just one afternoon, I had made over 200 PERFECT HST’s. So today I want to share this product that you may have overlooked in your local quilt store. I’m convinced, once you try it, you’ll never want to go back to your other method. I promise!
We’re going to be working with 3″ HST papers. One paper will produce (8) 3-1/2″ unfinished blocks. For this demo, I’m using the Riley Blake line by Lori Whitlock called “Oh Boy”. You can find the papers and the fabric line in the SewModDesigns Etsy shop.
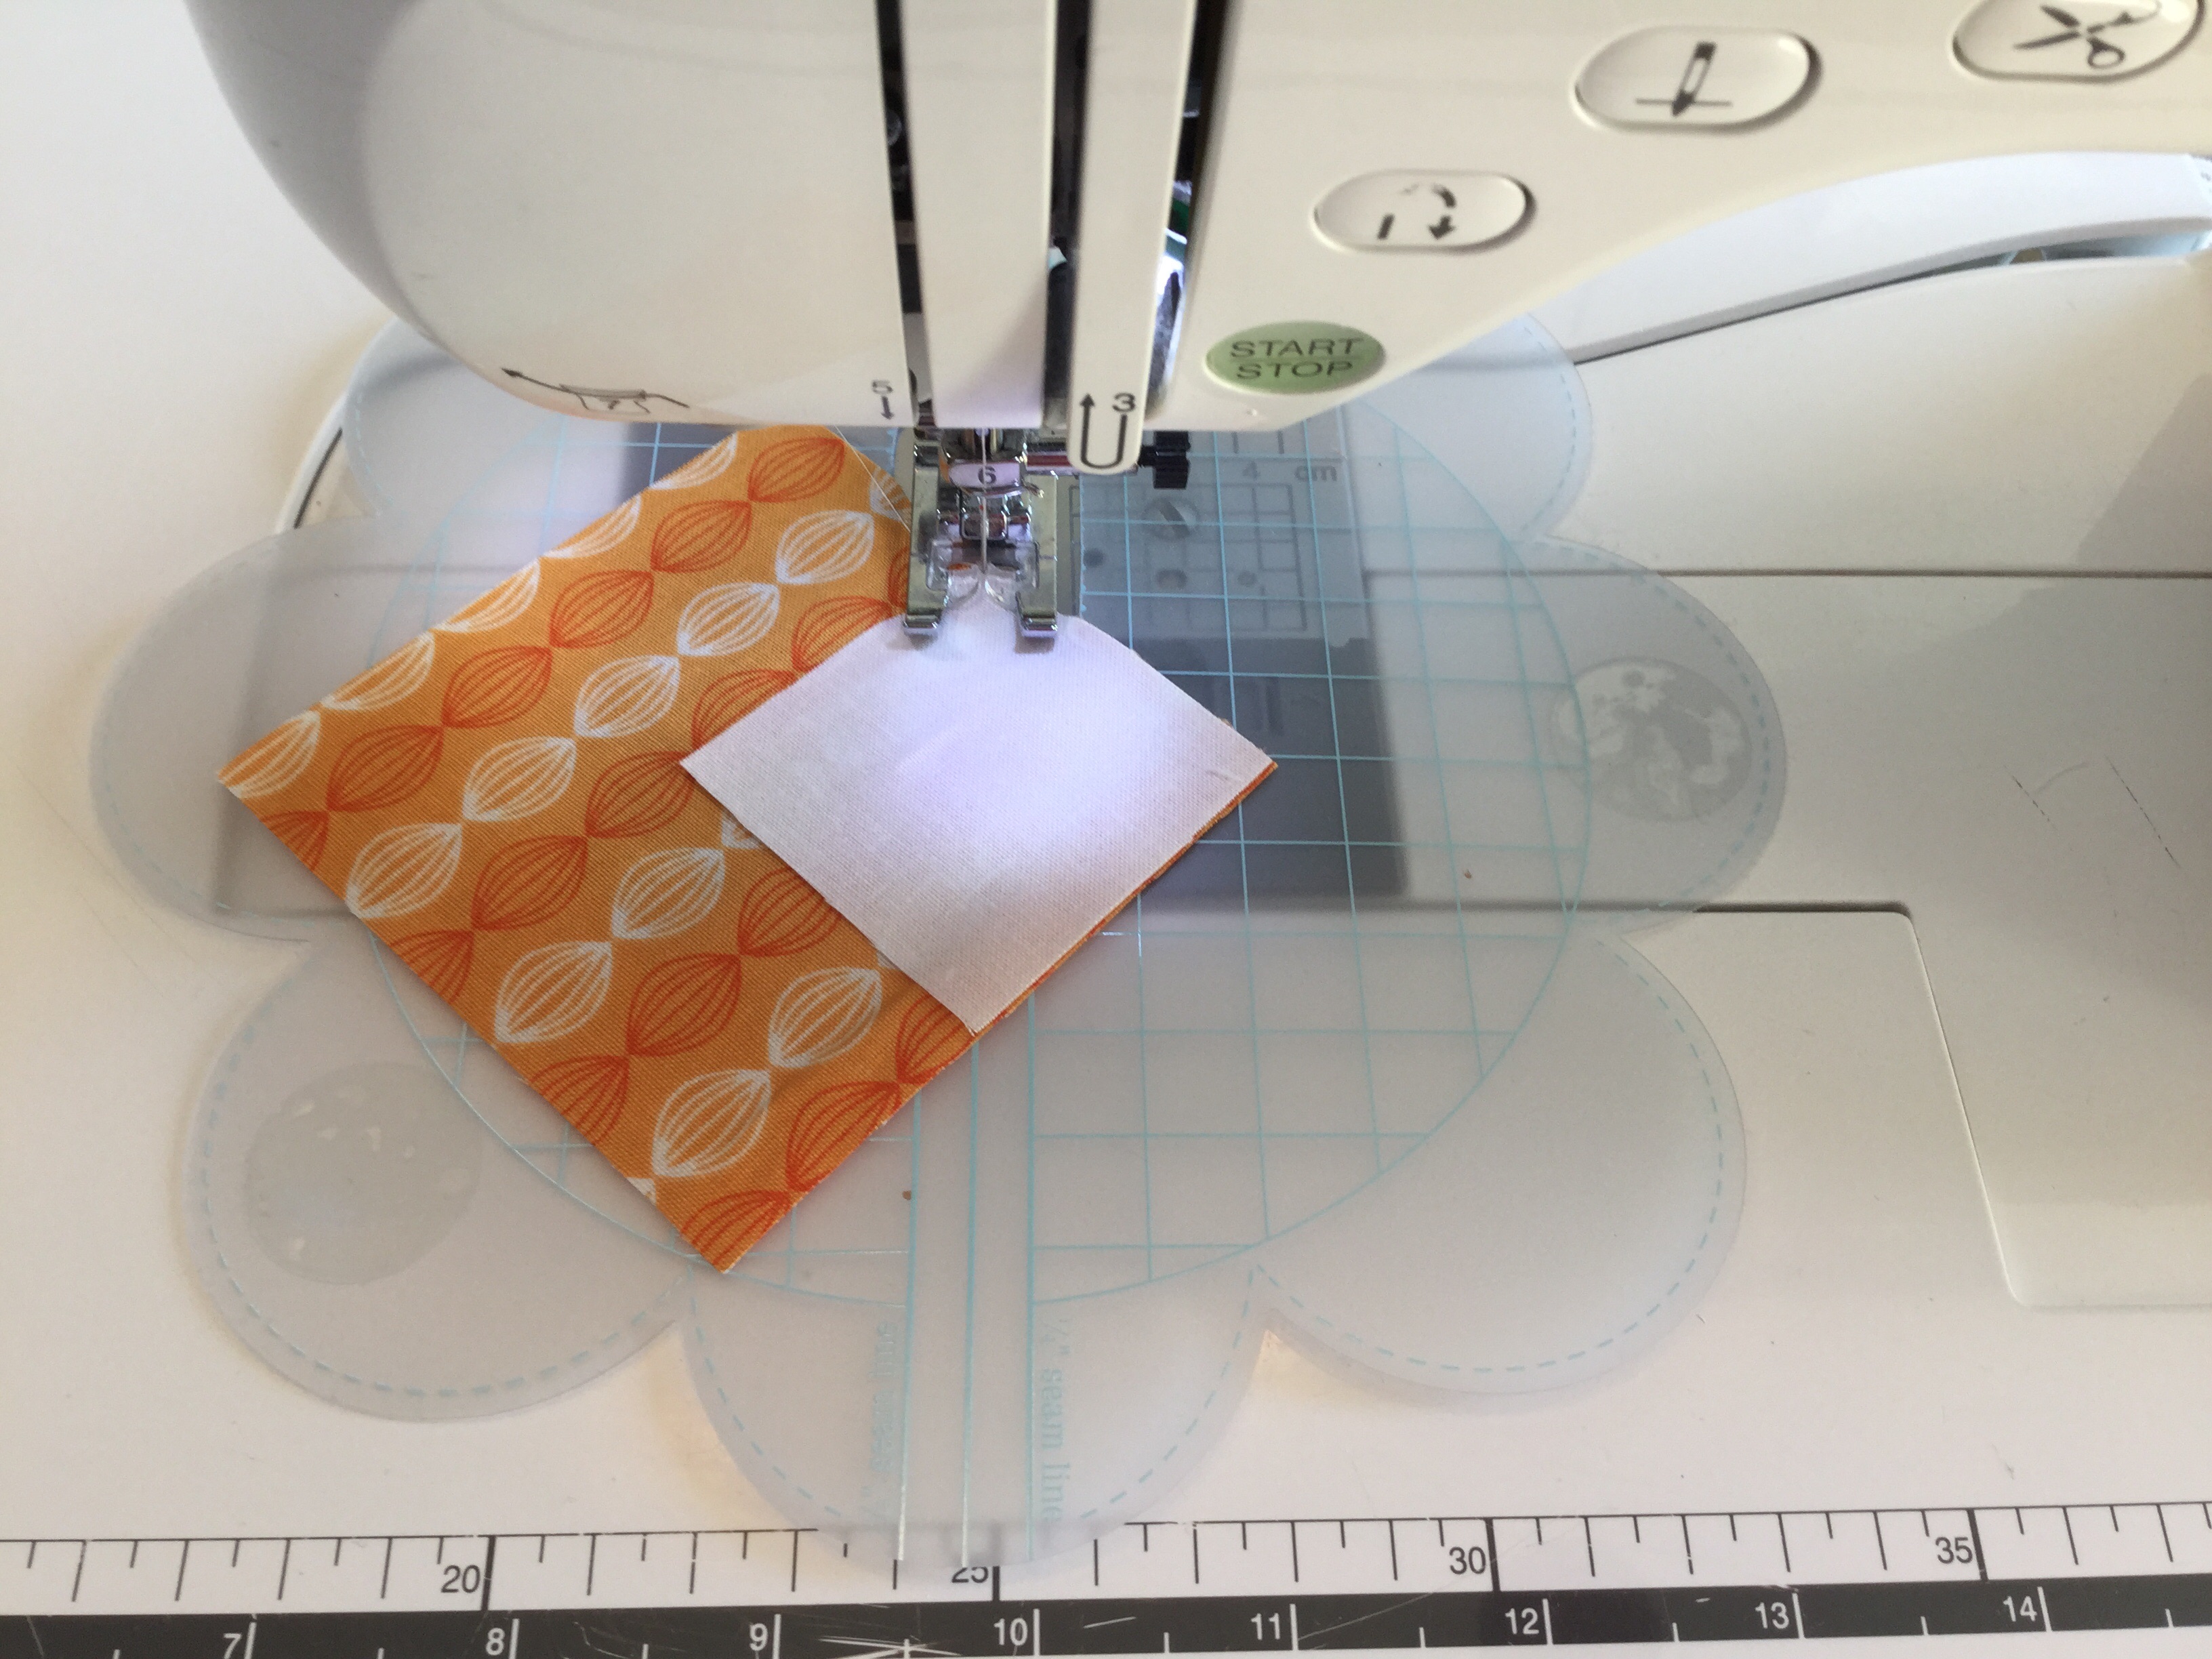
Let’s begin! Cut two 8″ squares of fabric. Place the pieces right sides together.

Place your HST paper on top and pin.

Shorten the stitch length on your machine to 1.6.
Sew on the dotted line starting where the arrows point in the #1 direction on the paper. Pivot and turn when you arrive at the solid dots and continue all the way around the paper until you’ve finished stitching on the line #8.
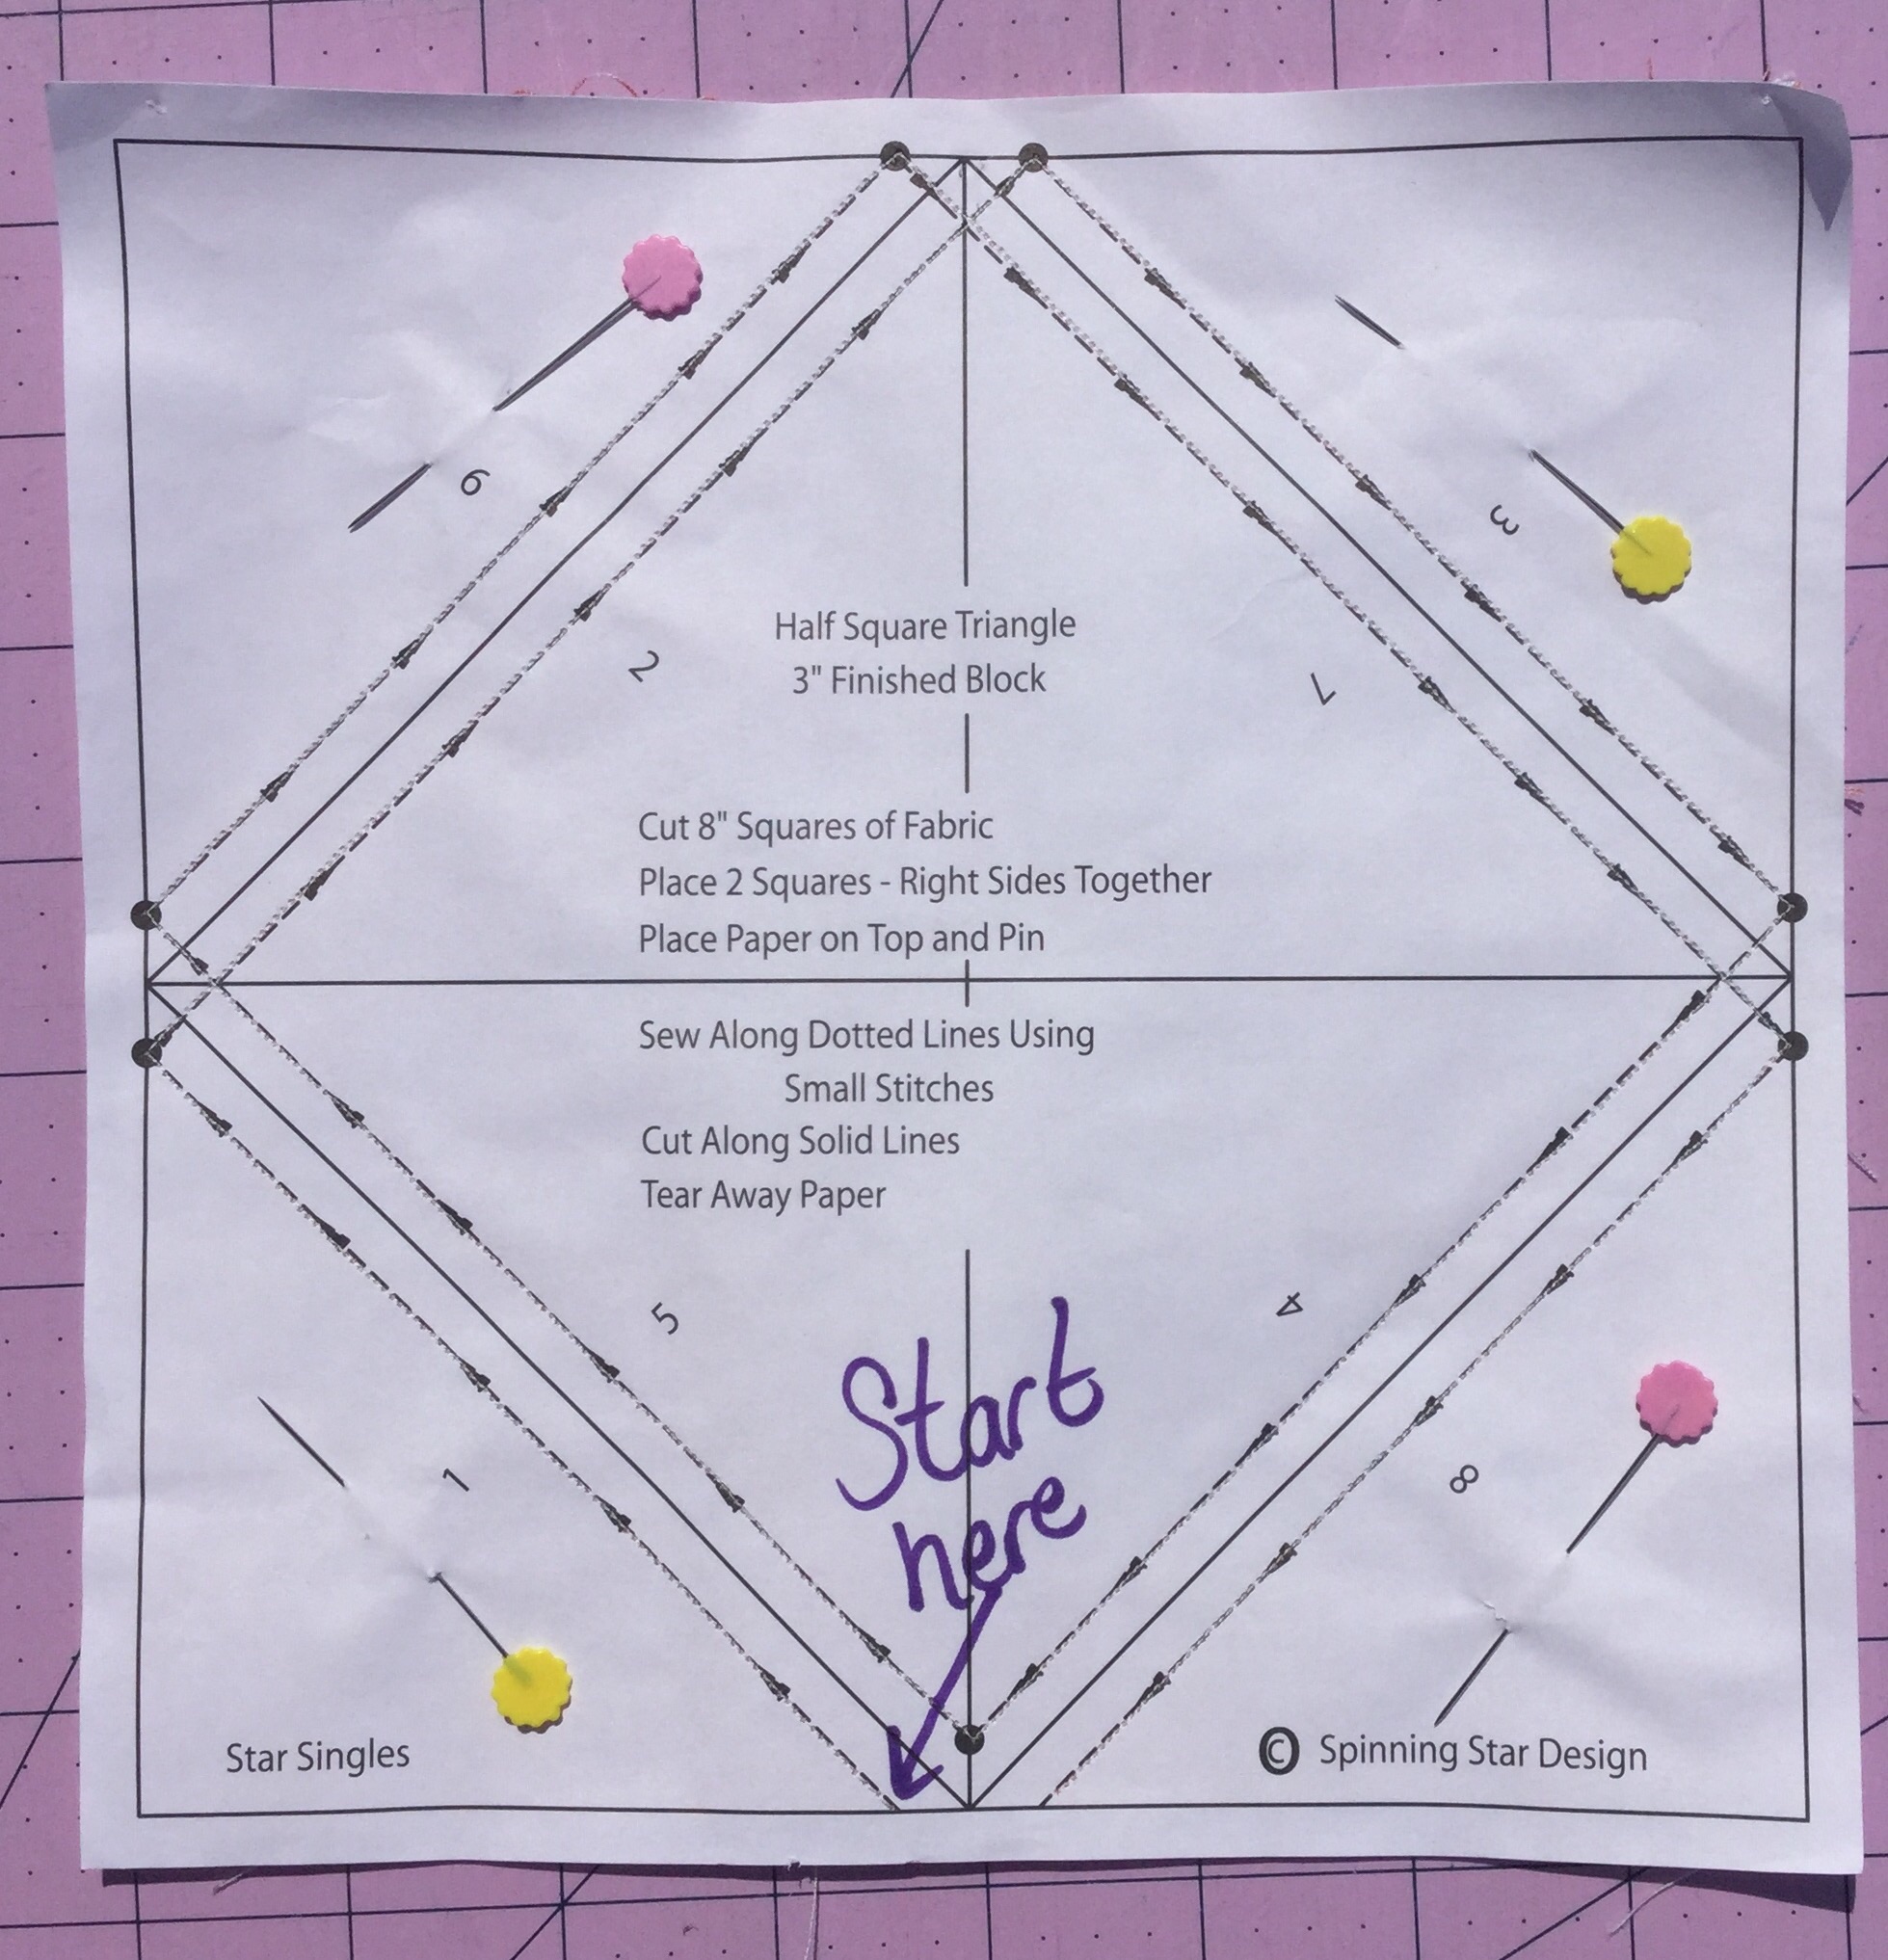
Using your rotary cutter and ruler, cut along all the solid lines.

Tear your paper away. If you bend the paper towards the seam, the paper will tear away easily.

Press the seam towards the darker fabric.

We all know that a great quilt starts with the cutting, and a damn near perfect seam allowance. This paper has that part covered!
I made several different blocks for the demo. This one is a 12.5″ unfinished block using (2) HST’s units with one each of a 3.5″ square of white and the matching HST fabric.

The block on the right is the same as the one above just turned a different way. I also made a chevron and a HST nine patch block.


Tell me your thoughts on HST papers. Do you use them? Do you want to try them? What have you made?
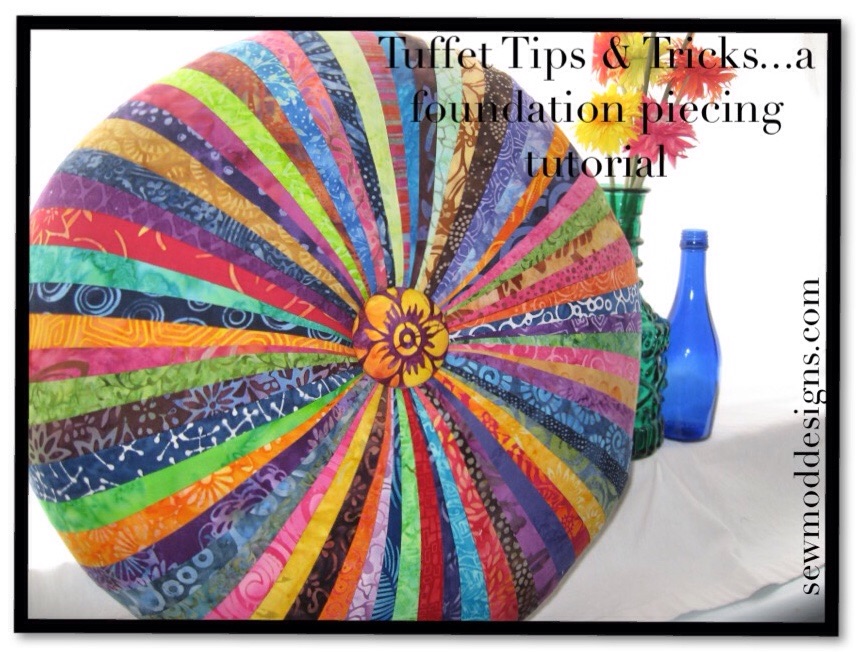
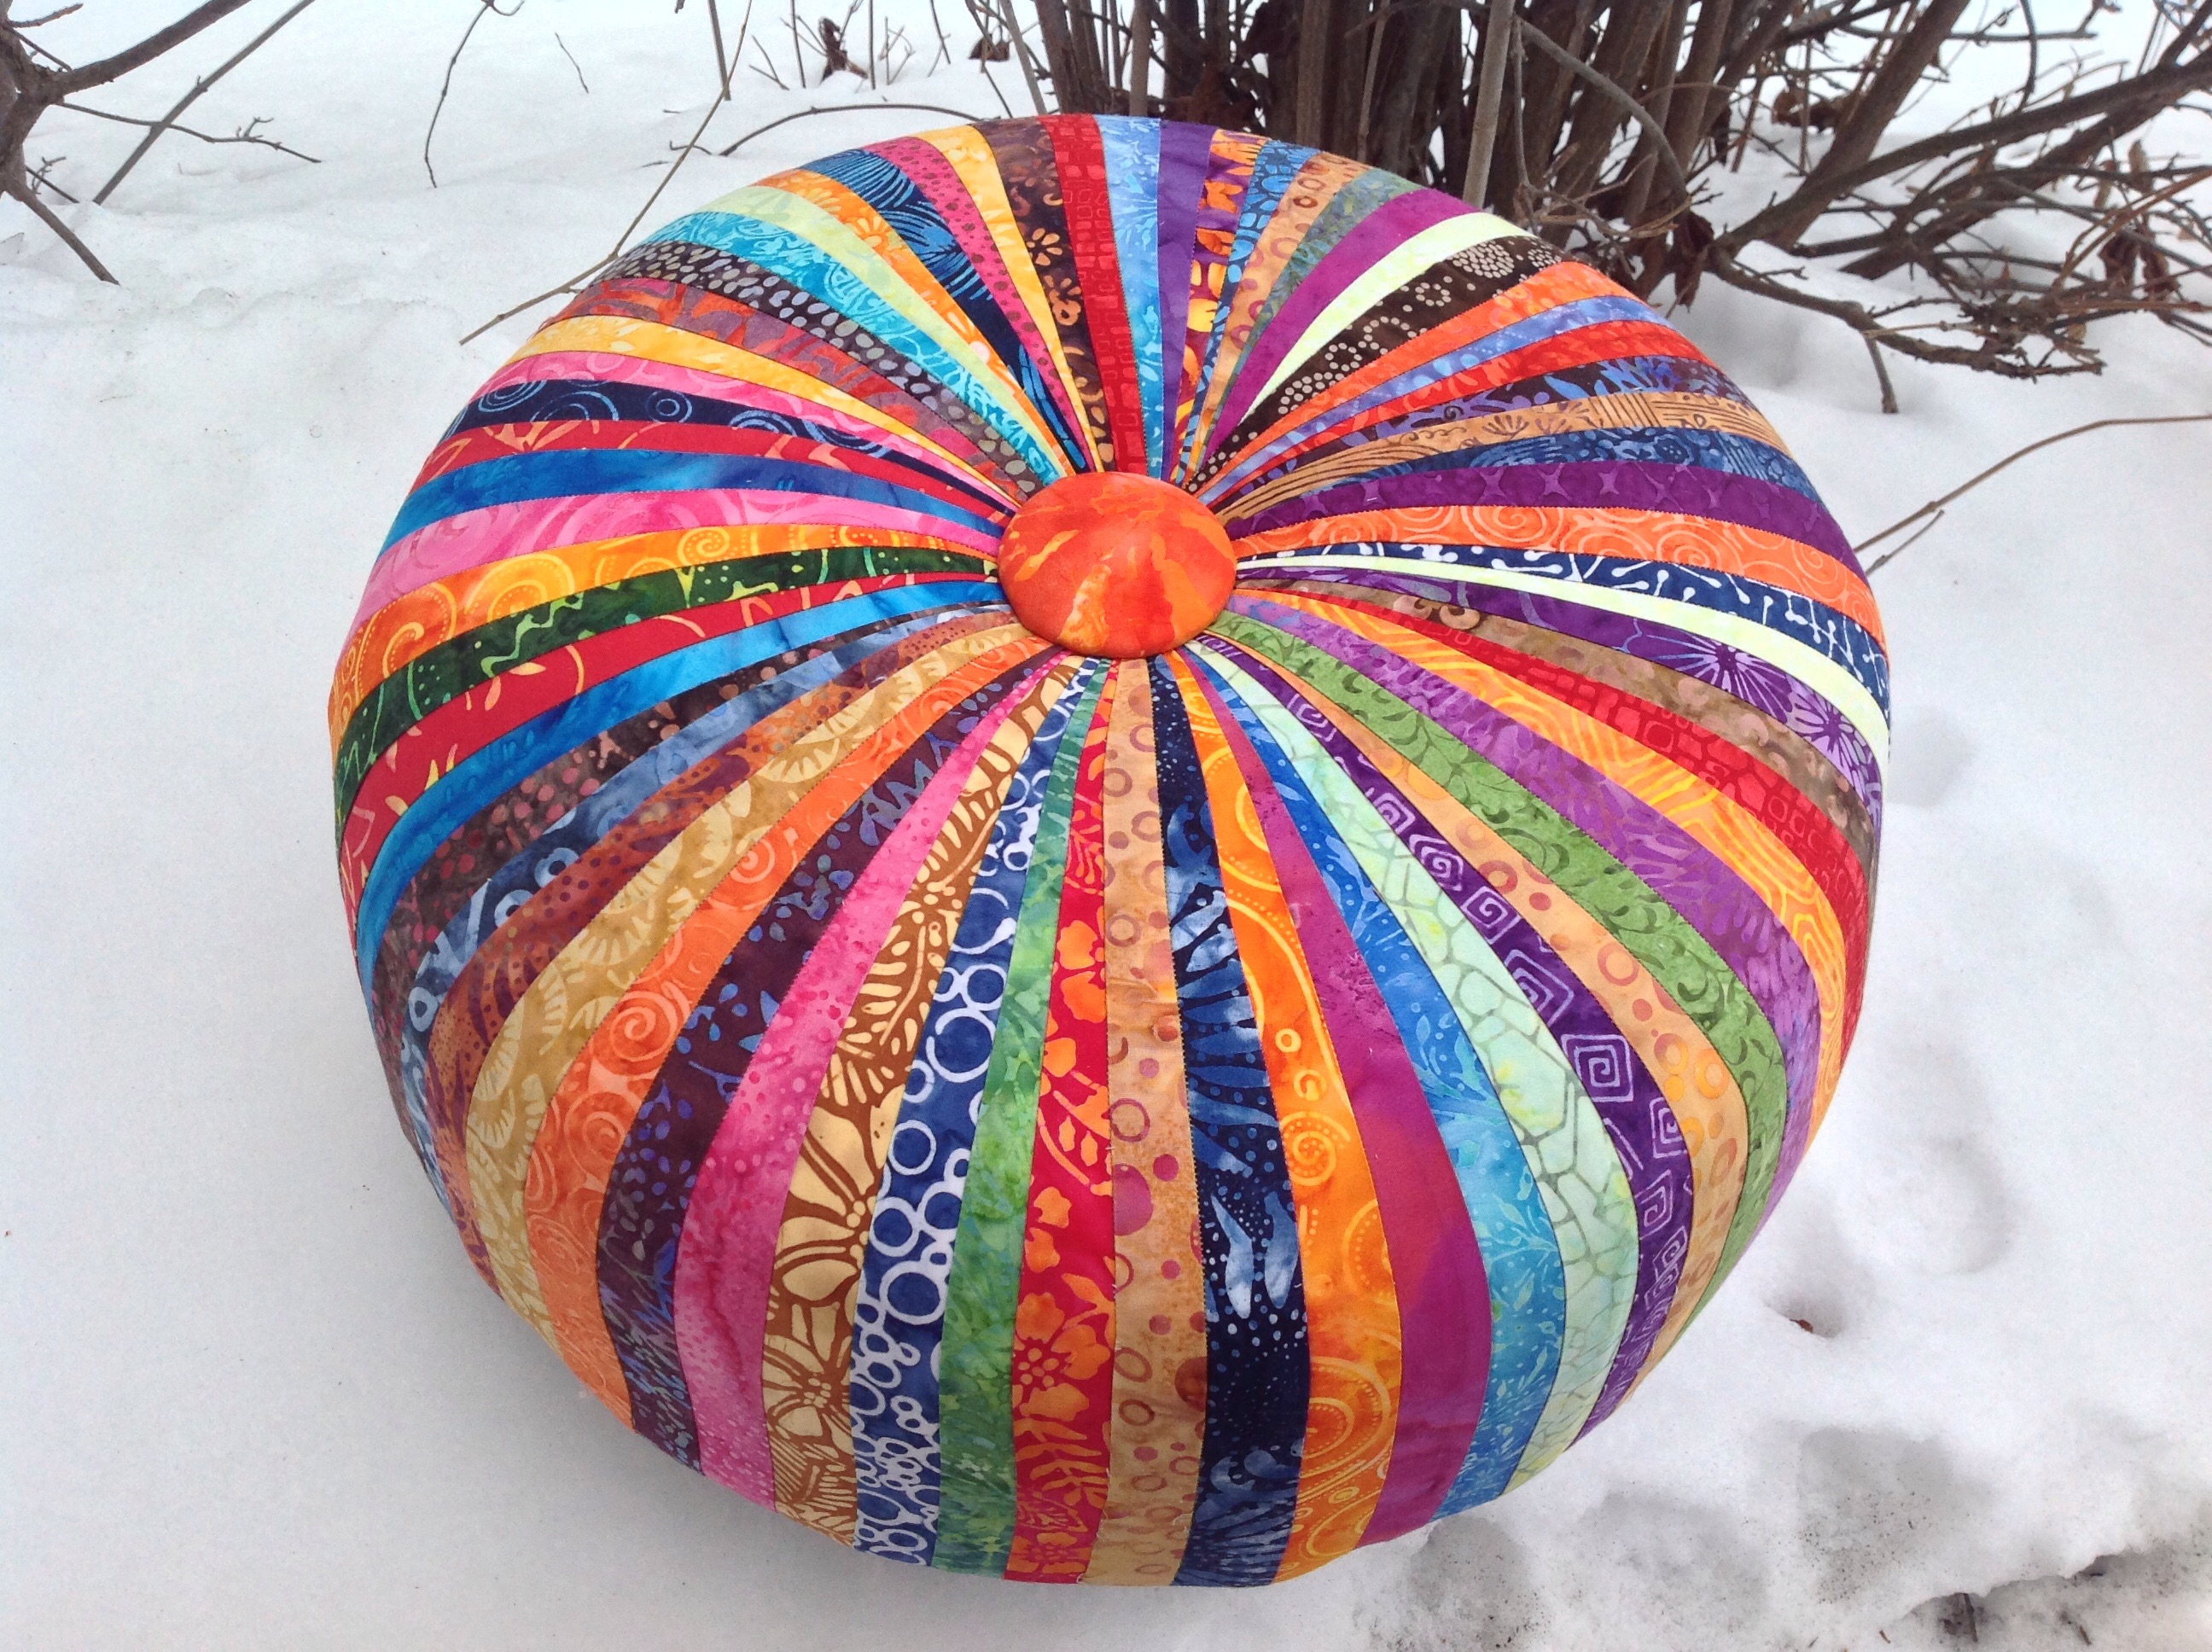
I get pretty dang excited when I sell a Tuffet pattern. Especially when I sell several of them to the same part of the country. Which means most likely, that a quilt shop is having a class. Somebody’s having a Tuffet Party!
I get all kinds of questions about the innards and the how-to on assembling the Tuffet, where to buy supplies, what fabrics to use, etc. So today, I’m gonna kill two birds with one stone. I’m going to finish up my UFO Tuffet and answer some of my customers pressing questions.
Because let’s face it, this list of supplies might seem a little daunting. But don’t fret, everything can be easily found at your LQS, craft or hardware store. The only thing you might have trouble finding, is your handyman.
I put a supply chart together showing the Supply, The Use, Where To Buy, Cost, & any Comments I have that might help. **This is for guidance purposes only** You can buy whatever you want from whomever you’d like. I’m only stating what I purchased and from where to try to help anyone making the Tuffets. If you’re taking a class at your LQS, there will likely be a Tuffet kit available for purchase. I highly recommend buying the kit. Unfortunately, for our party, we weren’t that lucky and we had to figure it out on our own. I hope this helps and you enjoy making your Tuffets as much as we did!
So let’s get this party started, shall we?
First you need The Tuffet pattern by Myra Mitchell. The foundation piecing demo and tips provided does not, in any way, replace the fact that you still need the pattern! I’ve only provided you with TIPS for building your Tuffet, not instructions on assembly. You don’t want to invest all your time and $$ in this project, only to realize that your missing key steps and correct templates. Even I still refer to my pattern for each Tuffet I assemble!
UPDATE: 01/04/18 SewMod is sold out of the Tuffet patterns. Please visit Etsy.com to purchase a tuffet pattern from a sewing or quilt store.

UPDATE 3/8/16: Myra has changed the board dimensions on the most RECENT patterns from a 18″ round plywood to a 17″ round plywood. All other supplies remain the same including the 18″ foam pieces. PLEASE NOTE this when printing off the PDF below.
SUPPLIES:Click on the table below to enlarge OR download the PDF as a reference HERE

**Remember that if you’re buying items from your local big box fabric & craft store, to use your coupons to significantly reduce the prices on select items.
**Items such as needles, adhesive spray, stain, & freezer paper can be shared if you’re making Tuffets with your friends!
FOUNDATION PIECING:The method of stitching your fabric pieces directly onto a foundation fabric such as muslin.
Foundation piecing onto the muslin will provide support and stability to this project and keep the fabrics from stretching when you begin to attach them to the base. Muslin will not pull apart.
Once you’ve traced your foundation template onto freezer paper and cut the muslin fabric pieces, trace the stitching lines. You can see from the pic that if you use a Sharpie to trace the stitching lines onto the freezer paper, you will be able to easily see through the muslin for tracing. I used a ruler and a Pigma pen to trace my lines onto the muslin. Make sure to trace the numbers from the pattern onto the muslin.

I used my leftover Batik scraps from various projects to make this Tuffet. I like using scrap pieces that are at least 2-1/2″W x 22″L . It makes my foundation piecing a lot easier!

Take your first two strips and layer them right sides together. These will be #1 & #2. Now take your muslin piece and with the drawn lines facing you, hold it up to a light source. I used my patio door as my light source for these pics. Place the layered strips behind the muslin. Make sure that these two pieces cover the stitch lines for #1 & #2. Pin in place to secure.

Shorten the stitch length on your machine. I set mine at a 1.8. Starting at the widest end of the strip, sew towards the narrow end through all of the fabrics. When you foundation piece, your fabrics are on the back of the muslin foundation and you stitch on the drawn foundation lines. Remember to back stitch.

Flip the muslin over and press the two strips open. You can see that they both completely cover #1 & #2.

Now the tricky part is trimming your seam. **I mentioned earlier in my Supply Chart notes that I did not use the Add-A-Quarter ruler so you won’t see me demonstrating cutting my seam with it. Instead I used my large cutting ruler. To trim the seam, fold all of the fabric, including the muslin, to the left, exposing only the raw edges the two fabrics you just stitched. Take your ruler and trim to a 1/4″ from the stitch line.

Press open again and head back over to your patio door!

Position the #3 fabric behind first two sewn strips. Notice that in the pic below that the #3 fabric is at least a 1/4″ beyond the #2 line that I will be stitching on. Pin in place and sew on the #2 line. Once again, starting from the bottom up towards the narrow end and back stitching. Trim seam. Press well!!

Repeat this process until all 8 strips are added. The last stitch line on each side of the muslin foundation are the stitch lines for piecing all 8 sections together. You only add 8 strips to each foundation piece.
Trim the block up to the muslin foundation. It’s ok to leave the bottom edge untrimmed. It will help when you are covering the Tuffet and can be trimmed after it’s stapled to the base. Sew 1/8″ around the edges to secure.
Here’s a pic of two completed sections…one from the front and one from the back. Refer to your pattern to complete the assembly of your pieced top.

TUFFET BASE:
Trace your template onto the foam and cut out 2 round cushions.

To make cutting easier, use an electric knife..you know, the kind Grandma cuts the turkey with? It’s perfect for this job too!…but I never cut meat with mine lol!

It’s ok that they’re not pretty cakes. They will be covered with batting and fabric to smooth out the rough edges.
Before using your spray adhesive, make sure that you are adhering the foam to the Tuffet top. I marked them as shown in the pics below.
The top of the Tuffet is where you will see the Tee Nuts.

The bottom of the Tuffet is where you will attach the Bun feet after you’re finished. The 2 small holes in the center are for the button attachment.

COVERING THE TUFFET: From the lyrics of Rob Base and DJ EZ Rock…🎶🎶”It takes two to make a thing go right“🎶🎶…you need a partner!
As I noted previously, I used leftover Warm & Natural batting because I couldn’t find upholstery batting. Upholstery batting is supposed to be more durable and won’t break down but I figured how bad can it be? It’s not like I’m going to be letting the kids jump on it or anything.
After your batting is on, ease the pieced top over it, keeping it centered. It helps if one of you stretch the pieced Tuffet onto the base while the other staples. Work from one side to the opposite. Pull tightly, add about 4 staples, turn 180 degrees , add a few more staples. Keep stapling until your top is securely attached. Try to staple about 3/4″ away from the edge of your base. If you go any further in, you risk getting too close to the drilled holes where the feet screw in. Keep working at it from opposing sides until you’re finished. Use lots of staples. Your arm will get tired! Check, double check, and even triple check to make sure that you’re keeping the piece centered. The last thing you want to discover after all your hard work is that your Tuffet is tipsy to one side. Trust me, I know..
ATTACHING THE BUTTON:

Follow the instructions in your Tuffet pattern to cover and attach your button using the upholstery thread. Pull tightly to secure and staple underneath.

COVERING THE BASE:
Using your 18″ freezer paper template, cut out a piece of coordinating wool felt to cover the wood base for the finishing touch. This step is completely optional but well worth it! Center your felt on the base. I used a bit of the upholstery spray to keep it from shifting too much while I worked. Using a mallet, hammer the tacks around the edge of the felt. Locate the drilled holes for the feet by touch and use small scissors to clip the holes where your Bun feet will be attached. I did this last because your felt may shift/stretch a little while your attaching it. Trim the felt close to the Tuffet edge if necessary.
For a more professional look, it’s best if you buy 2 boxes of the tacks. You’ll only use about 1/2 of the second. I misplaced my second box and as you can see from my photo, my Tuffet could have used a few more tacks. But that’s an easy fix for later, right!
Screw your Bun feet into the base.

And you’re all set!
🎶🎶It takes two to make a thing go right
It takes two to make it outta sight🎶🎶
This Clutch was made using the demo from the Martha Stewart show and pattern provided by UpStyle Design. You can find the printable PDF under Tutorials and Free Patterns.

Supply List:
ONE FQ Non-directional Decorative fabric for outside of clutch. (Cotton may be used)
ONE FQ Cotton fabric for lining.
1/2 yard Heavy weight fusible stabilizer Pellon 808
1/2 yard Fusible fleece Pellon TP971F
UpStyle Clutch Frame
Basic supplies including: Sewing machine and standard foot. We will not be sewing 1/4″ seams. Coordinating thread, iron, tape, small binder clips, Rotary cutter, cutting mat, E-6000 glue.
*A note about glue…original pattern suggests Gutermann Textile HT2 which is imported, expensive and only sold online. The Martha Stewart show suggests Bond 527 Multi-Purpose Cement and I used E-6000 which has always been very dependable for any project.
Don’t forget any embellishments that you might want to ‘bling up’ your clutch with!
Cutting:
Cut your outer clutch fabric and lining to 13″H x 13-1/2″W
Cut your fusible stabilizer to 12-3/4 x 13-1/4″. (Your stabilizer should be 1/8″ smaller than your outer clutch fabric on each side)
Cut your fusible fleece to a 10″ x 13″ piece
*I recommend back-stitching your project.
Let’s begin!
Fuse your stabilizer to the back of your outer clutch fabric according to manufacturer’s directions. Center your fusible fleece and press into place on top of the stabilizer.

Layer the lining fabric and the outer clutch fabric right sides together and pin into place.
Sew 1/2″ seam along the top and bottom edges…the 13-1/2″ edges.

Making The French Seams:
Turn right side out and press. Fold the clutch in half matching the seams. Use small clips to secure the top of the clutch. This will prevent it from slipping while you sew.

Sew a 3/8″ seam along the short edges (sides).

Trim seams to 1/8″ and clip corners. Snip through the corner seams about 1/8″ to create a tiny opening. This helps the fabric lay flat after turning.

Turn the clutch so that the lining fabric is on the outside and sew 3/8″ side seams. Turn right side out.

With the corners of the bottom of your clutch flat, use a pencil to mark a 1-1/2″ diagonal line ACROSS the point as shown. *If you mark more than 1-1/2″ across it will alter the dimensions of your finished project.


Sew on the line creating the gusset. Repeat for the other point. Sewing across the marked line is easier if you place the bulk of the fabric under the machine as shown.

Trim the points to 1/8″.
Turn once more so that the lining is on the outside and sew a 3/8″ seam. Sew slowly through all the layers. Turn right side out and press your clutch well before adding the frame.

Mark the center of your fabric with a pencil. My clutch measures 11-1/2”, so my center is 5-3/4”.
Center your frame on the clutch with the clasp opening in the middle and insert your fabric. Place a piece of tape on each side where the ends of the frame are. This is your guideline for frame placement after you insert the glue and the tape will help protect the fabric from any glue that may ooze out.

Remove your frame. Working one side at a time, apply the glue into the channel of the frame, starting 1/2″ in on each outer edge. Do not add too much glue. Work the glue towards the edges.
*I used the cut off end of a Q-tip. It doesn’t take too much glue for the fabric to bond. Use the Q-Tip to spread the glue into the channel. Do not fill the entire channel with glue y’all! Less is more!
It’s best to be patient and if it seems like it’s not adhering after the recommended bonding time, remove and add more glue.
After applying glue into the channel, center the frame and insert the fabric. Secure with tape. Allow glue to set for 30 minutes before repeating the process for the other side.
Remove the tape, open the frame and tuck the corners in under the hinges and close the frame.

Pattern and hardware can be purchased from Robin Grawunder @ UpStyle.Etsy.com.

Here’s a quick YouTube video for this demo from the Martha Stewart show. Happy sewing everyone!
I’m back with my second CLMQG BOM tutorial. Our inspiration for this block came from Sara Peterson at KnottyGnome.com. Remember, if you want to play along too, you can find us at The Crystal Lake Modern Quilt Guild or download the BOM instructions directly from the CLMQG blog.
Gather your fabrics & lets get started!

Begin by cutting your fabrics.
(12) 2.5″ white squares
(8) 2.5″ orange squares
(4) 4.5″ dark blue squares
(1) 4.5″ white square
(4) 4.5″ x 2.5″ green rectangles
(4) 4.5″ x 2.5″ light blue rectangles

On the wrong side of your fabric, use a pencil to mark a diagonal line through your (12) 2.5″ white & (8) 2.5″ orange squares.

Making your corner squares:
Place one of the white squares and one of the orange squares in opposite corners of the dark blue square. Sew directly on the diagonal line.

Use your ruler to trim 1/4 inch away from your seam.

Press your block and repeat with the other two corners. This time using (2) 2.5″ white squares. Press. Make 4 of these units.

Making your center square:
Using the same method as you did to make the corner squares, place a 2.5″ orange square in opposite corners of the 4.5″ white square. Sew on the diagonal line. Trim 1/4″ away from your seam and press.


Repeat with the other two corners using (2) 2.5″ orange squares. Press.

Making the middle rectangles:
Sew the green rectangle to the light blue rectangle along the long side. Press these seams open. Make 4.

Finishing the block:
Lay out the block according to the photo. Begin by sewing the blocks into 3 rows.

**A helpful hint** while you’re sewing your blocks into rows.
To keep your corner square (Diamond) points aligned with the seam of the middle rectangles…
Place your corner unit and middle rectangle unit right sides together. Insert a straight pin into the intersecting point of the corner unit.

Making sure that the end of the straight pin goes directly into the seam from the other side.

Pin. This will prevent your blocks from shifting while sewing and keep the seam aligned with the Diamond point.

Using a 1/4″ seam allowance, sew over the intersecting point. Remember to go slowly if you’re like me and love to sew over your pins:)

After all of that careful pinning, you will be rewarded with beautiful points!

Sew the rows together.

You’ve completed your Rolling Diamonds Quilt Block! This is our block for Crystal Lake Modern Quilt Guild.

And this fabulous version is going into our BOM.

I’ve used cloth napkins so long, I feel GUILTY when I reach for a paper towel. My Grandma made me some for Christmas about 15 years ago with matching place mats and after I moved away from OKC to Chicago I thought about her every time I used them. So not only are cloth napkins the “green” way to go but I’ve also developed a sort of comfort attachment in some way I guess.. I tucked those napkins and place mats away for safe keeping and I’ve just gotten around to replacing them and I’m going to give you an easy tutorial on how to make some for yourself.
Over the years, I’ve used several methods for making napkins. From one-sided to the fancy ones that are doubled-sided with mitered corners..these are reserved for the holidays,

but today we are just going to make double-sided with a top stitch.

The pic above is from the “I Glimma All Over The Place” blog post about a month ago and those napkins have been tried and tested through many washes and I am here to tell ya that they look and feel like new! So don’t hesitate on going green yourself… let’s get started on your own set!
I used fat quarters for mine but you can use up some of that fabric from your stash by cutting 18 ” squares. You will need 2 per napkin.

Place your (2) 18″ squares right sides together. Pin so it doesn’t shift while sewing.
Using a 1/4″ seam allowance sew all the way around the fabric, leaving a 3-4 inch opening for turning.

Clip the corners, being careful not to cut through the stitches.

Turn right sides out through the opening. I used this handy little thingamajig to poke my corners out nicely. Just make sure you don’t push too hard. You’ll push right through your seams.

Press, making sure to turn in the openings raw edges.

Top stitch close to the edge on all sides to secure the opening. This helps keep the fabric from shifting and will help it lie nicely over time.

And you’re all finished! Now go make a nice meal for your Babe or Sweetie to compliment your pretty napkins!


Make sets for your holiday table..

Or gifties for your friends. They’re sure to be impressed!

My little Daisy May is absolutely the best pup. Having never been around small ones, she had no idea what to expect. She’s been toted around like a baby, had her hair brushed and put into pony tails. She’s endured countless dress-ups & posed for more pictures than a model.
She’s always rewarded generously, a little too generously I might add, for her patience. She is snacked frequently.
Her favorite snacks are the homemade treats that we make. I’ve shared this recipe before but here goes again…

Oatmeal Peanut-Butter Doggie Treats
1/2C oatmeal
1/2C flour
1/2C corn meal
1/2C oil
1-1/2C whole wheat flour
2 eggs
2TBSP vanilla
2TBSP peanut-butter
1-1/2C water*as needed
Mix all dry ingredients in bowl. Make a well and add wet ingredients. Mix and add water in gradually till moist but not wet. Roll onto floured surface. Cut with cookie cutters and place on lightly greased cookie sheets. Bake @400 for 20min. Turn oven off and let them sit in oven for another 20min. to dry out.
While your letting those cool, take your BFF to the doggie park, for a long walk around the neighborhood, or or even for ride on the swing..lol

Now that she’s played and eaten well, let’s make her a new leash. Everyone loves a new outfit, right? Well, unless your dressing your pup up in the latest trends, then her collar and leash are as close to new duds as she’s gonna get.
Supplies for approx. 3/4″ by 5 foot leash:
2.5″ x 72″ strip of stylish fabric for your leash
2″ x 71″ strip of Pellon Decor Bond #809 iron on interfacing
3/4″ Snap Hook

Center the the Pellon on the wrong side of the leash fabric, leaving 1/2 inch at each end for turning in and fuse according to manufacturers directions.

Press the un-fused ends in toward the Pellon.

Press the leash in half to create a crease in the center. At this point you can use a pencil and lightly mark the crease to use as a guide in the next step.

Press each side toward the center of the leash.

Press the leash in half.

Edge stitch the leash, starting on one end and working all the way back.

Insert 2″ of one end of the leash through the snap hook and secure using a box stitch.

With your leash lying flat as shown in the picture above…Make the handle of your leash by folding the opposite free end in approx. 7″ and secure once again with a box stitch.

All finished! Don’t forget to make some for your pups friends too. Their owners will be amazed at your mad skills!

Now take your pup for another walk so she can show off her new outfit! Let’s go daisy…

This week, Shelley and I went to our local quilt shop, A Touch Of Amish, for a preview of a future club they’ll be having featuring Edyta Sitar from Laundry Basket Quilts. We both love her work so we were pretty excited to go! She has designed lots of patterns using different techniques and even has her own Batik fabric lines.
A Touch Of Amish will be having a monthly demo on several of her patterns featuring the different techniques she uses. Edyta does a lot of appliqué work and now she has come out with the pieces already pre-cut with a laser for you. It even has the Steam-a-Seam on the back for fusible appliqué. A bit expensive but if you want to do machine appliqué and don’t have the time for the intricate cutting, then these would be perfect for you!

If you’ve been following our blogs, or Flickr sites, you’ve probably noticed that Shelley and I have been working almost weekly on Edyta’s Spool Quilt pattern. We’re having a lot of fun with this. Almost done too! We only have the border to cut and appliqué. I can’t wait to finish and have them quilted.
We recently had the opportunity to see her in person at our local guild. She is an amazing woman to say the least! She is so interesting and creative. And I have to tell ya…I think I can be a bit ADD listening to speakers. I tend to wander mentally. Let’s keep that between us, ok? But anyway, I don’t think for one second I wandered. I was fascinated actually. I’m pretty sure I had chills at one point. If you ever get the chance to see her speak, GO!! You won’t regret it.


One pattern I’d like to work on next is the Dancing Umbrellas quilt. Maybe a little polka dots or little chevrons in it to brighten up the umbrellas. I want to make them colorful.


Unfortunately, I don’t have time to take on the amazing opportunity A Touch Of Amish is offering but do check out Shelley’s blog, Elsie’s Girl for all her progress. I’m sure it will be fabulous! I’m so jealous Shelley!
So, my lack of blogging in the latter part of 2012 is embarrassing to say the least. I was busy though, I promise. I’d hate to think you guys thought I was just goofing off and being unproductive so I’ve gathered a few pics of some of the projects/fun things that we were up to.
Here we go… This is a commission quilt we made for a customer we met at Madison this year. Made for her granddaughter, Mimi. It’s a modified Sassafras. I tagged this one “I’m a Barbie girl”. It was so so very pink and girly!

This

Became a very popular one of these…

Did a lot of daydreaming about one of these…

All of those hexies I made became one of these…Is this the cutest place mat or what. Still workin’ on my 2nd one! This was a sample for when we were asked to vend at a local Modern Quilt Guild. We did a demo on hand and machine hexies.

We made a commissioned breast cancer throw for someone’s Christmas gift.

Started a spool quilt with Elsie’s Girl, Shelley, which we work on weekly. This is my progress so far…

I had some life changing decisions thrown…definition(Pushed or forced violently and suddenly into a particular state.) upon me. Which caused this…
And let’s just say this…you can’t hide from Karma peeps. At least I’m hoping anyway;) More on that subject at a later date.

Spent a total of 3 weeks over the last 2 months like this. Which probably was a result from all of the stress caused by the above…

Had a Christmas crafting party..

And we made these cute button trees…This one’s mine.

And this is Paige’s..

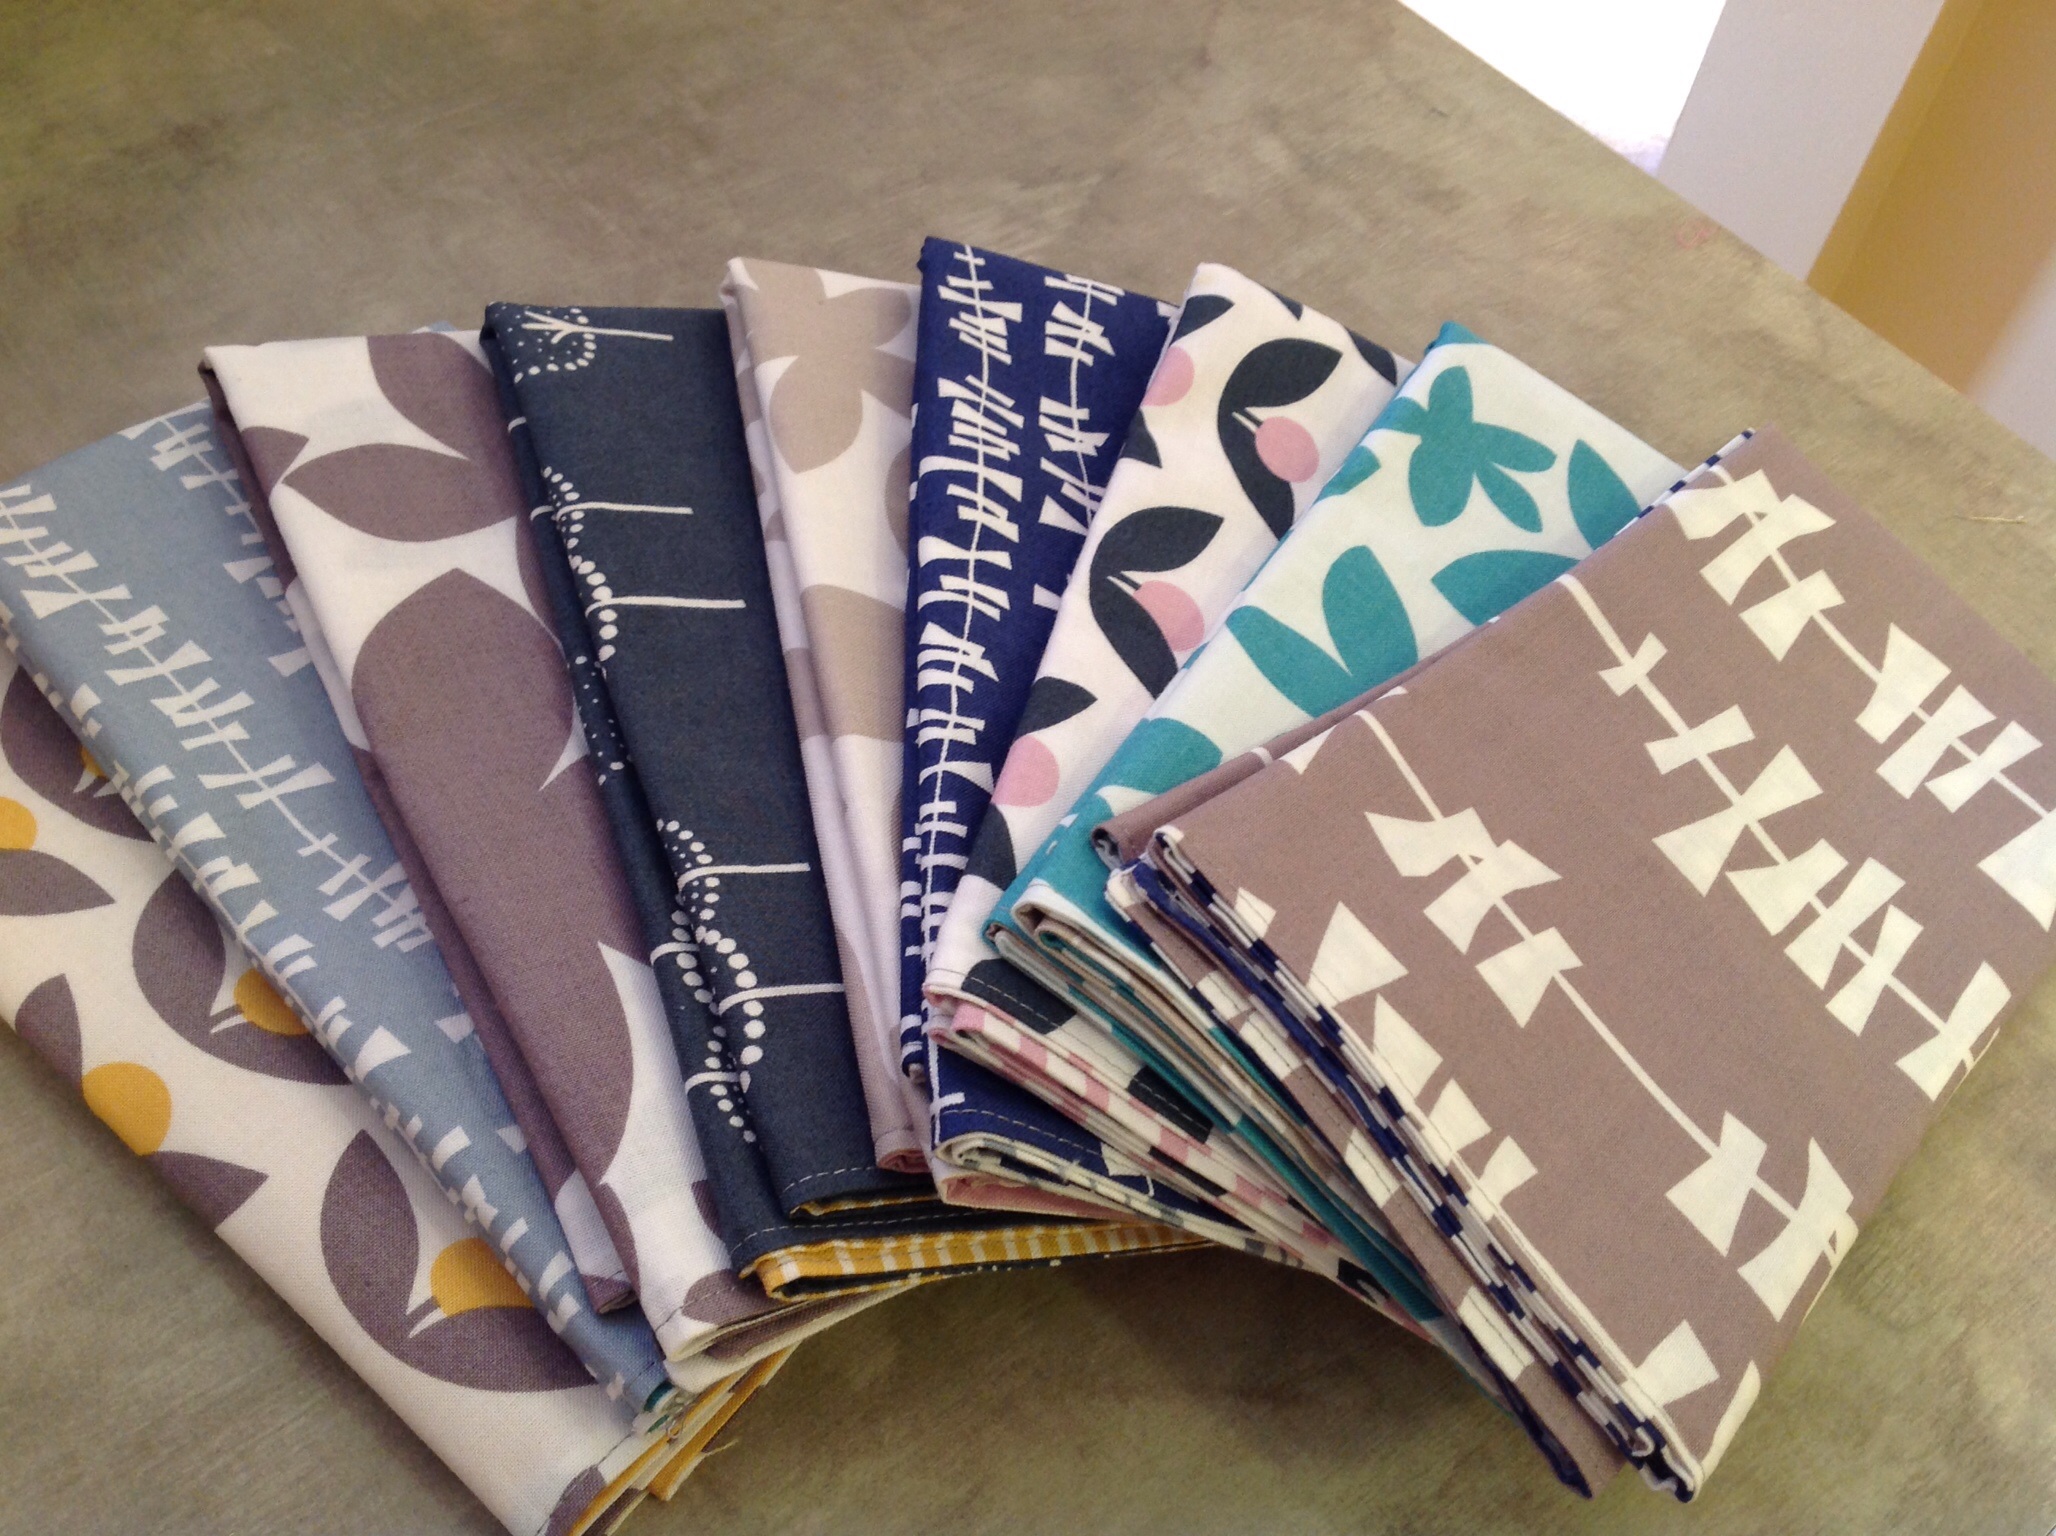
New fabrics arrived at the shop. We now have all of the Oval ELements in stock and this great new line from Blend called Gabbie. You can find it here…

Did some of this…

But then ate a lot of this..

We found a perfect cupcake stand for SewMod. So we ate even more of this deliciousness just to decorate the stand….

Paige and I went shopping and found these SewMod Christmas decorations in our colors…

That matched these trees! How could we possibly resist…It’s Christmas, SewMod Style!

Spent some time catching up with the nephews in OKC…

And finally made more progress on my December fun project, Rendezvous..

Whew, 2 months of blogging done! Here’s to a great 2013! We made a lot of progress this year and we couldn’t have done it without all of your support. We made wonderful friends and met so many people thru social media and our experiences at the quilt shows and local guilds. Thank you everyone! We are looking forward to another exciting year!
I’m pretty excited to show this super cute french embroidery book I ordered off Etsy. Ma vie a broder, My Life Embroidered.
I whipped up one of the designs and used it for a journal cover. The tutorial is from Bloom and was featured on the Moda Bake Shop. The original design was for a bakery, but Paige suggested embroidering our SewMod logo and making it a quilt shop instead. Great idea Paige because it turned out soooo cute. That’s what’s great about brainstorming with a friend!

I’m so glad I bought this book. These designs are so girly. Especially the clothesline scene. I find it’s rare when you love a book from front to finish.

I also plan on purchasing this book too. Doodle Stitching. 
But of course, I did check this one out from the library to preview it first. I spent one day this weekend making these headbands. Couldn’t have been easier either. I didn’t get a chance to make the embroidered one in the book because I got hooked on making them out of my scraps.

A 4-1/2″ x 18″ strip of fabric and a 5″ piece of elastic is all you need.
Start by sewing the fabric right sides together down the long edge.

Press the seam open. Turn right side out. Press the headband so that the seam is down the middle of the back.

Fold the ends in 1/4″ and press.
Fold the ends to a “V” and tuck the elastic in. Sew several times across to secure and repeat for the other side, making sure not to twist the headband.


Easy Peasy!

I sent the two OU Sooner ones home to my sis-in-laws to wear during the bowl game.
GO SOONERS!!


